Fret level and crown – finding and fixing high frets
In this short video you can hear what happens when you’ve got high frets and you bend a note; the note tends to choke out at the top of the bend just below where each of the high frets is found.
The only way to fix the problem is to perform a fret level and crown.
For this week’s guitar blog, I thought I’d share with you how I carried out a fret level and crown on the guitar featured in the video. I’ll also tell you which tools I used for the job.
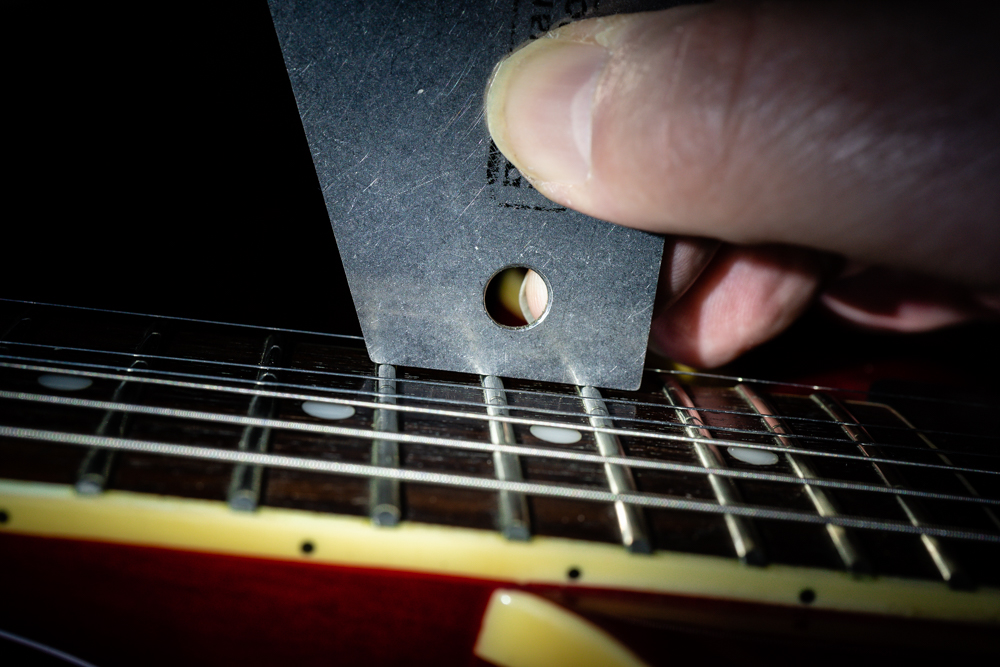
To find those high frets, the first tool you need is a Fret Rocker. I got mine from Stewart McDonald in the US. I’m not sure if you’ll find one locally in High Wycombe or in Buckinghamshire generally but you can probably pick one up on ebay if you don’t have a Stew Max account.
You use the Fret Rocker by straddling three frets at a time. If you feel even the smallest bit of ‘rocking’ the middle fret you’re testing is high. The rocker has three sides to enable straddling three frets at any point on the guitar’s fretboard.
When you’re testing for high frets, you need to make sure you ‘rock’ across the full width of each fret. When I’m testing the frets, I create a paper-based map of all the frets showing which ones are high, and need a fret level, and where on the fret needs levelling.
Often a note will sound fine when you play it without bending it but as you start to bend a string, it climbs the radius of the fret so if you’ve got a fret that’s high in the middle, the moment the string touches the high point, the note will choke. That’s when you need a fret level and recrown.
In the video the high frets were 16, 19 and 20. You could hear the notes choking when I bent the strings at fret 15, 18 and 19.
High frets in this area on semi-acoustic electric guitars and acoustic guitars, in particular, are caused by a rising tongue; a rising tongue is created when there’s a small deviation in level of the neck as it joins with the guitar’s body. This produces high frets that choke out notes.
In my example there was no rising tongue. The guitar had gone out of setup and this caused the problem to become apparent; in reality, the guitar could have had high frets from new and always have needed a fret level. I don’t think that was the case in this instance as it was actually purchased from me when I had BBZ High Wycombe showroom in Buckinghamshire.
Anyway, as part of my diagnosis, I raised the action at the bridge (until it was too high) and the choking disappeared. Of course, this is not a solution; what we want is for the string height from the frets (the action) to be low and easy to play and we don’t want any fret buzz or choking.
After identifying the problem frets at the high end, I checked to see if there were any dents beginning to show in the frets at the lower end of the fretboard. It’s fairly common to see some denting on a guitar of this age (it’s 12 or so years old).
I found there was a tiny ghosting in the first to seventh frets. The most economical way forward was to perform a fret level along the full length of the fretboard, lightly to about the 12th fret and a tiny bit more from the 12th to last fret. The last fret cannot choke as it has no frets above it; it just needs to be very slightly lower than the penultimate fret. Once the fret level is done, all frets need recrowning.


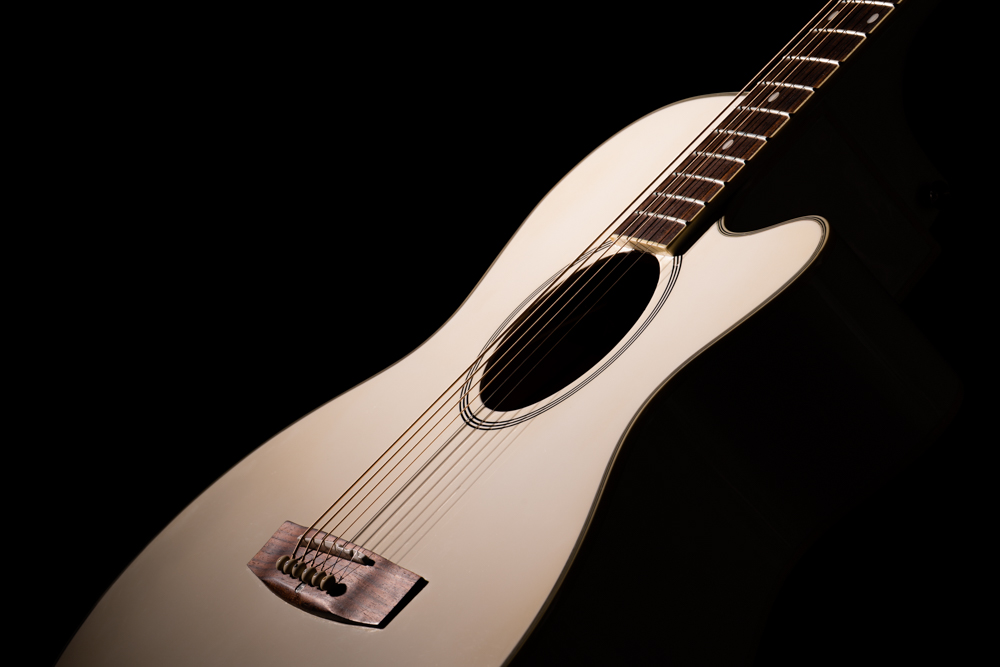
Here’s the guitar with the strings off. It’s important to make sure the neck of the guitar is dead straight (with the appropriate notched straight edge for the scale of the guitar) by adjusting the truss rod after taking all the strings off.
Once I’d checked the neck was straight, I masked off the fretboard to protect it while I was performing the fret level. I’m not showing a photo here but I also lowered the neck pickup so it didn’t catch my levelling beam (aka Sanding Level Beam) and I covered the guitar body with card to protect that too.
Little pieces of metal will be flying around during the fret level process, so it’s quite important to keep them away from the relatively strong magnets in the pickups and prevent them from scratching the surface of the guitar.
Again, not in the photos, I protected the nut too. Sometimes it’s better to remove the nut to get a better consistent sanding of the first fret without causing damage. This is especially pertinent when there are deep dents in the first fret. (Not the case in this instance).
Before I started levelling, I went over the frets again with the fret rocker, consulted my fret level map and marked on the masking tape where I found any slightly uneven frets. This is just as a reminder to check that I have been successful in levelling out any high points.
I marked the frets with a black sharpie. This shows the high points as they’re sanded off before the rest makes contact with the sanding level beam; it also shows where any slight dents are in the frets and gives you a guide for how far you have to go to level them out.
Once level and all the sharpie markings have (only just) been removed from the top of the frets. I checked with the fret rocker again where I had marked the masking tape. All good.
The frets are all level now but they have a completely flat top to them of about 1-1.5mm in size. What you might call square shouldered. This is no good for either playability or for the intonation of the guitar.
The tops of the frets need to be ‘crowned’, to give you a flat top of 0.3-0.5mm; this is done by filing off the shoulders NOT the top of the fret.
By remarking all the fret tops with a sharpie and using an appropriately sized Fret Crowning File, you can easily see that the fret is crowned perfectly because you leave a tiny thin line of marker pen across the apex of the fret top. You do this for all frets (22 of them on this guitar).
The frets are now levelled and crowned but they are still quite rough. The next job is to use 0000 steel wool, Fret Erasers, Fret Cloths (wet and dry paper) and a Dremel ® with polishing attachment (or combinations of all the above) to polish the frets to a silky-smooth finish.
Once that’s done you can ‘unmask’ the fretboard, clean and feed the board itself and perform a full setup on the guitar.
For this particular guitar the result was a lower choke-free action along the complete fretboard.
With most guitars (from new), there’s enough meat on the frets for two to three rounds of levelling and recrowning. Here’s a gallery of the final results.


Find more information and pricing on BBZ’s fret level and crowning services in High Wycombe and Buckinghamshire here.
Follow us on Facebook or Twitter for news and offers from BBZGuitars. If you’ve got any other questions on the fret level and crowning processes, send me a message or apply to join the BBZ Guitar Fix Group on Facebook – new members welcome.